Tie-dying shirts are an exciting way to inject personality and color into your wardrobe. Whether you’re looking to revive old garments or create a vibrant masterpiece from scratch, understanding how to customize tie-dye for different fabric types is essential. This comprehensive guide will walk you through the steps, materials, and techniques needed to achieve the best results.
Understanding Fabric Types
Before you get into the tie-dye process, you need to understand the different fabric types. Whenever you buy tie dye shirts, you have to recognize that not all fabrics react the same way to dye. Here’s a quick breakdown:
- Cotton: Highly absorbent and ideal for tie-dye.
- Polyester: Less absorbent, which can create paler, more subtle designs.
- Silk: Delicate and can offer sharp, vibrant colors if handled correctly.
- Linen: Similar to cotton, linen is highly absorbent and great for bold patterns.
Preparing Your Materials
To start, you will need:
- Dyes: Select fabric-specific dyes for best results.
- Squirt Bottles: For applying different colors.
- Rubber Bands: To create patterns on the fabric.
- Gloves: To protect your hands from stains.
Setup Steps:
- Pre-wash fabrics to remove any finishes that may interfere with dye absorption.
- Soak the fabric in a soda ash solution if using cotton or linen to enhance color brightness and permanence.
- Prepare your workspace by covering it with plastic sheets or newspaper.
Choosing The Colors
When customizing colors, consider the following:
- Color Theory: Familiarize yourself with a color wheel. Complementary colors can enhance contrast, while analogous colors offer a harmonious look.
- Testing: Experiment on small fabric swatches to see how colors blend and absorb.
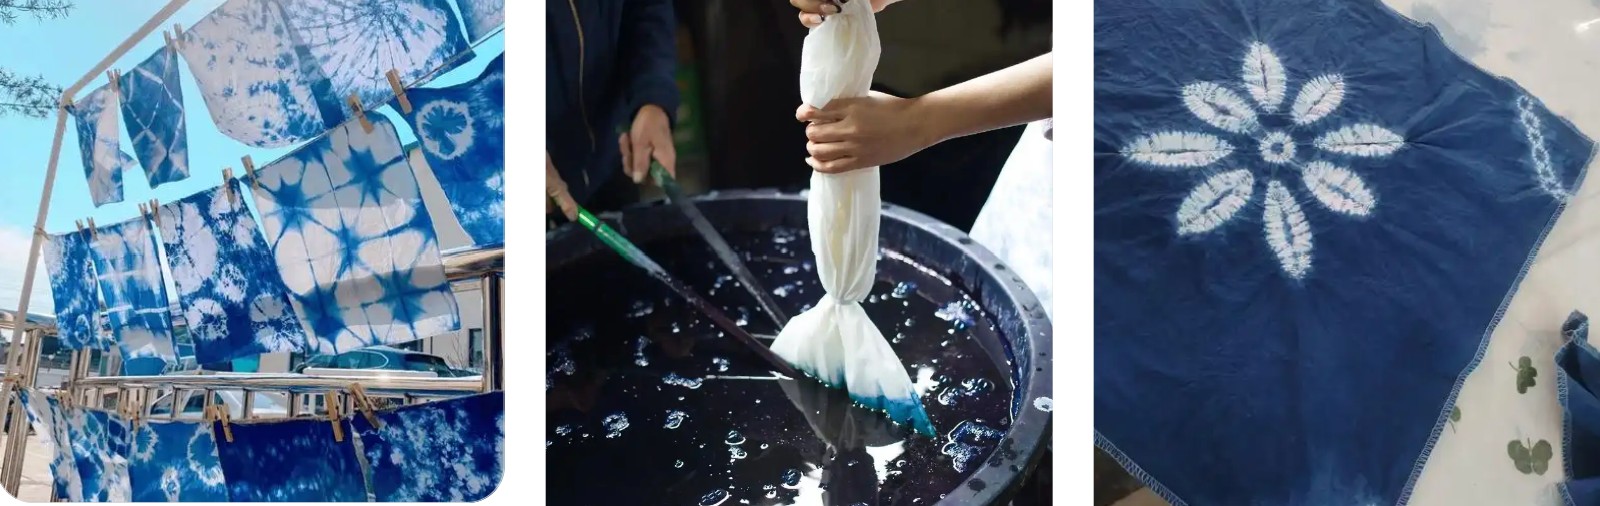
Applying the Dye
The application technique can drastically affect the outcome. Here are some popular methods:
- Spiral: Pinch your fabric in the center and twist until it spirals. Secure with rubber bands forming pie sections to apply different colors.
- Bullseye: Pinch the fabric where you want the center of your circle and pull up. Tie bands along the length to form concentric circles.
- Crumple: Crumple the fabric randomly and apply dye for a more abstract pattern.
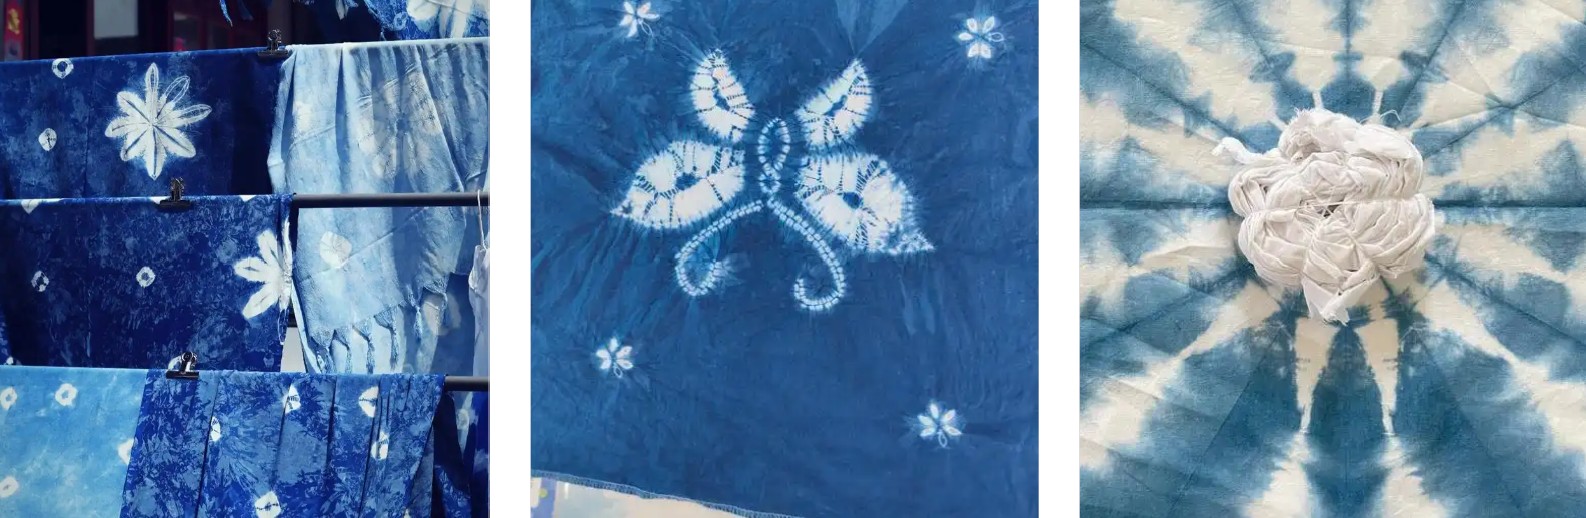
Technique Tips:
- Apply dye strategically, saturating areas based on your desired intensity.
- Use a squeeze bottle for more precise control.
- Allow the dye to set for 24 hours for deeper color saturation.
Setting the Dye
After applying your dye, follow these steps to set it:
- Wrap the fabric in plastic to keep it damp.
- Let it sit for at least 8 hours, though 24 hours is ideal for vibrant colors.
- Rinse the fabric under cold water until the water runs clear.
- Wash the fabric alone in warm water with a mild detergent, then let it air dry.
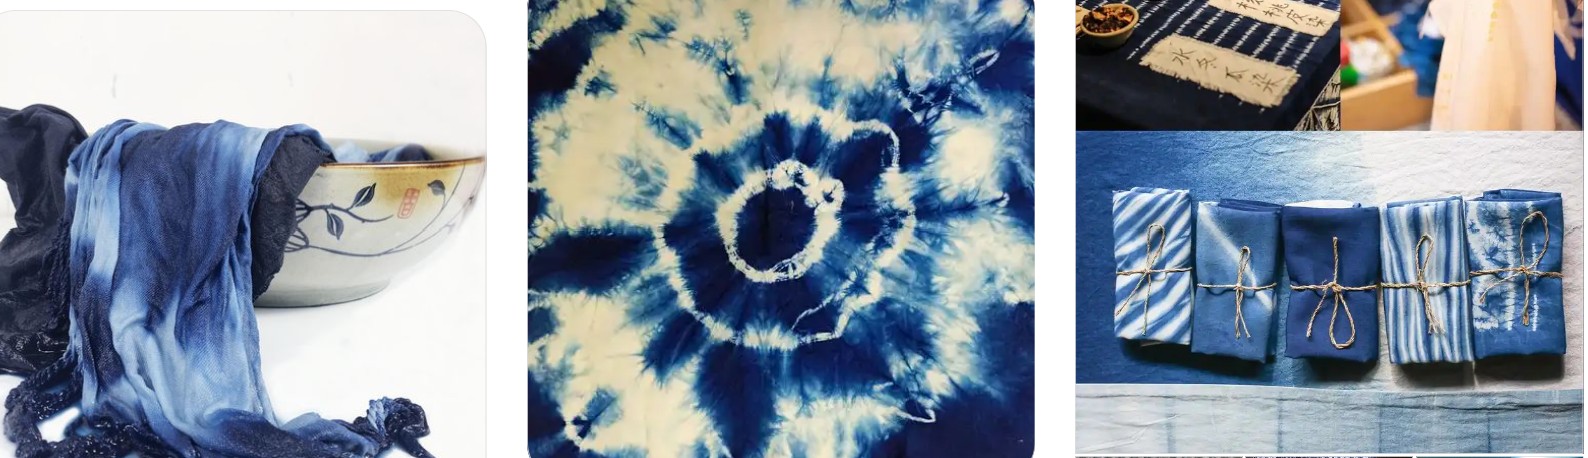
Final Touches
After your fabric has dried, you can add further embellishments or treatments:
- Ironing: Iron on a low setting to smooth out the fabric and enhance the glossiness of the dye.
- Adding embellishments: Consider sewing on patches, and beads, or using fabric markers for additional customization.
Troubleshooting Common Issues
Here are some solutions to typical problems you might encounter:
- Faded colors: This often occurs if the fabric wasn’t pre-washed or the dye didn’t set long enough. Increase the setting time or dye concentration.
- Uneven patterns: Ensure the dye penetrates all layers of fabric folds. More scrunching and tighter rubber banding can help achieve more uniform patterns.
- Bleeding colors: To minimize bleeding, rinse each color separately in cold water before the final wash.
Conclusion
Customizing tie-dye on different shirt fabrics can be a rewarding DIY project. By understanding the properties of each fabric, carefully selecting and applying your dyes, and properly setting the colors, you can create stunning, personalized garments. This craft not only allows for creative expression but also offers the joy of wearing something uniquely yours. Whether you’re a beginner or an experienced dyer, each project is an opportunity to refine your skills and explore new possibilities.

